 Story
StoryHe Turned His Bedroom Into a $10k/Month Mushroom Farm
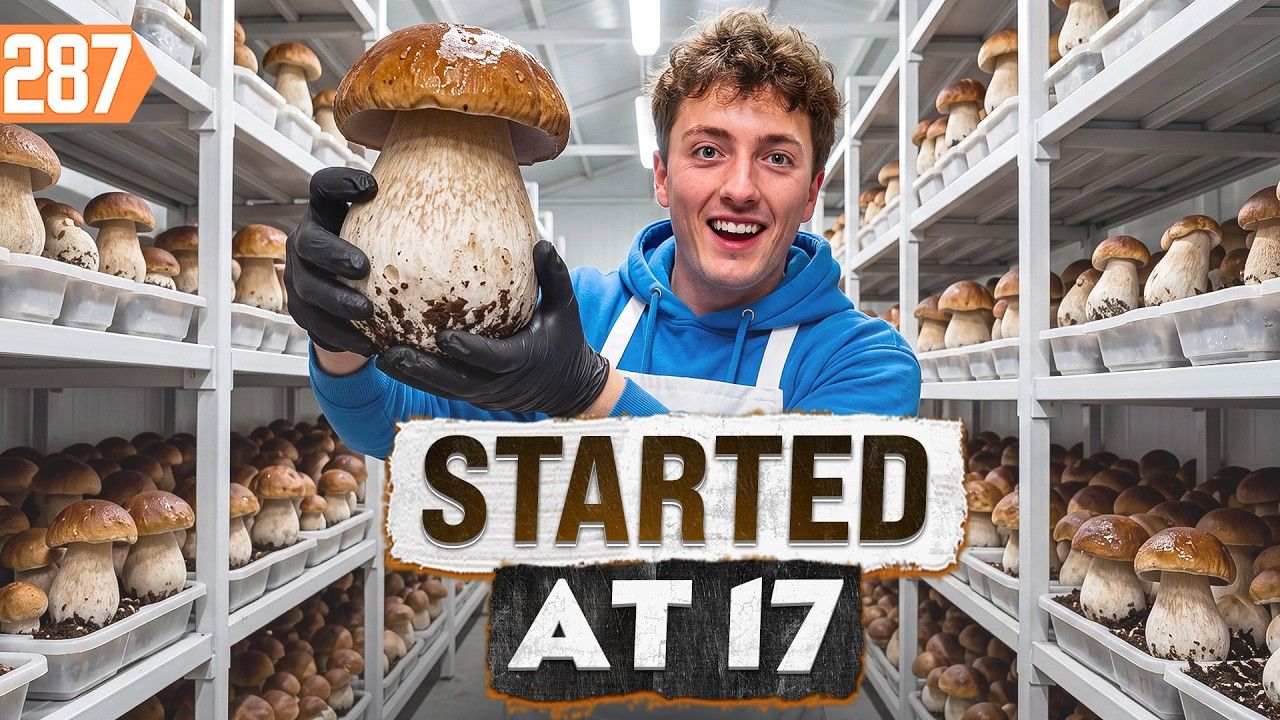
Hunter Vargo started growing mushrooms in his bedroom at 17 — now Mountain View Mushrooms pulls in up to $10,000 a month. Here's exactly how he does it.
Hunter Vargo was 17 when his mom brought home a blue oyster mushroom grow kit during the COVID-19 pandemic. He got fascinated, bought more kits, and before he even left for college, he'd turned a bedroom hobby into a real business. Six years later, Mountain View Mushrooms supplies gourmet mushrooms to restaurants and farmers' markets across Northeast Pennsylvania, pulling in up to $10,000 a month during peak season with a profit margin hovering around 50–60%. Total startup cost to get going? Under $100.
Here's the full breakdown of how he built it — and how you could too.
Step 1: Gather Your Supplies (Under $100)
What you need: Three things from your local hardware store — straw or pine shavings, a bucket, and a pot for boiling. That's it.
The cost: Hunter breaks it down simply: the pot runs about $37.99, a basic bucket is $5, and pine bedding is $6.99. Add a mushroom starter kit from Walmart or Target for around $20, and you're all in for under $100.
Why it works: The whole point of starting this lean is to remove excuses. You don't need a lab. You don't need a grow tent. You just need a few cheap items and the willingness to follow a process. The beginner setup is intentionally simple so you can learn the fundamentals before spending more.
Step 2: Understand Pasteurization
What it is: Pasteurization is the process of heating your substrate — the material the mushrooms grow in, like straw or hardwood — to around 212°F to kill off competing molds and bacteria. If you skip this step or do it poorly, contamination will destroy your grow.
Hunter's setup: He built a large custom pasteurizer from a Home Depot shelf setup. It's industrial-looking but DIY at its core. For beginners, though, you don't need any of that — just boil straw in a pot on your kitchen stove for 20–30 minutes.
The mindset here: Don't overbuy equipment early. Hunter explicitly warns against it. His DIY pasteurizer came after years of scaling. When you're just starting, a stovetop works fine and teaches you the fundamentals without burning cash on gear you don't understand yet.
Step 3: Inoculation and the Lab
What inoculation means: Once your substrate is pasteurized and cooled, you introduce mushroom mycelium — the root network of the fungus — into the substrate. This is called inoculation, and it's where the magic starts.
Hunter's lab: He has a dedicated sterile room with a HEPA filter fan blowing clean air to prevent airborne contaminants from landing on open substrate. It looks serious. But again — beginners don't need this. Just buy pre-made grow blocks and skip this step entirely until you're ready to scale.
The contamination lesson: Early on, Hunter lost $2,000–$3,000 in a single contamination event. Mold got in, wiped out his blocks, and took revenue with it. That experience pushed him to tighten his sterile procedures dramatically and eventually outsource his initial mycelium seeds to a professional lab to guarantee quality. Contamination is the single biggest risk in this business. Respect it.
Step 4: Build Your First Mushroom Bucket
The method: After boiling your straw and letting it sit to cool and absorb moisture, drain the excess water. Then layer the pasteurized straw with crumbled pieces from your grow kit — this is your spawn, the living mycelium — inside the bucket. You're essentially sandwiching spawn between layers of substrate.
The logic: You want to overwhelm any remaining bacteria with a large volume of mushroom mycelium. The more spawn you add relative to substrate, the faster the mycelium colonizes and the less chance mold has to take hold.
Drilling holes: Drill holes into the sides of your bucket. This lets oxygen in, and oyster mushrooms respond to oxygen by pushing outward through those holes to fruit. In about four days, you'll start to see the white mycelium web spreading through the bucket. It's genuinely cool to watch.
Step 5: The Grow Room and Harvesting
Environment: Mushrooms need humidity to fruit. Hunter keeps his grow room foggy using a simple pond fogger sitting inside a trash can. That's the whole humidity system. High moisture in the air triggers the mushrooms to push out and develop.
Best variety for beginners: Oyster mushrooms. Full stop. They grow fast — 7 to 10 days from inoculation to harvest — they're resilient, and they can handle a range of home environments without being too finicky. Hunter also grows Lion's Mane, but oysters are the entry point.
When to harvest: Watch the caps. When they start tilting upward at the edges, that's your window. Harvest too late and the quality drops. The technique is simple: twist and pull the cluster from the base, then trim off the substrate-covered base with scissors. Clean, fast, repeatable.
The Business Side: How the Money Actually Works
Three budget tiers: Hunter lays out three ways to start depending on what you want to spend. A $20 grow kit gets you learning the basics. A $150 setup lets you expand with your own substrate. A $1,000 budget — think a grow tent and more serious equipment — is where you start treating it like a real operation.
Unit economics: A single 10-pound grow block costs Hunter about $1 to produce at scale. That block can yield mushrooms that sell for $30–$60. Let that sink in for a second.
Two sales channels:
- Farmers' markets (75% of revenue): Retail pricing is where the margins are. Oyster mushrooms at farmers' markets go for around $40 per pound. Customers there are already looking for exactly what he's selling — local, fresh, specialty produce. The relationship-building that happens in person is also what drives word-of-mouth, which is his only marketing strategy. Budget: $0.
- Restaurants (25% of revenue): Wholesale pricing is lower — around $10 per pound — but the orders are consistent and bulk. Restaurants that buy from you regularly provide predictable cash flow that smooths out the natural variability of farmers' market sales.
Profit margins: For a three-month peak season, Hunter pulled $36,657 in total revenue against $17,474 in expenses. That's a net profit of $19,183 — a 52% margin. And he notes that several of those expenses were investments in future growth, not strictly necessary for current operations. Strip those out and the margin sits closer to 50–60% consistently.
The expense breakdown is worth looking at: supplies ($2,300), fees ($2,982), media ($2,517), gas ($2,615), and equipment ($2,713), among others. Gas is real — delivering to restaurants and driving to markets adds up. But the overall picture is hard to argue with.
What Makes This Actually Work
Hunter didn't build Mountain View Mushrooms by finding some secret ingredient. He started with a $20 grow kit his mom bought at a store, got obsessed with the process, and kept iterating. The business is in its sixth year now and still growing.
The things that actually moved the needle:
- Keeping startup costs brutally low so early mistakes didn't kill the business
- Learning from contamination events instead of quitting after them
- Choosing oyster mushrooms because fast turnaround means faster learning cycles
- Selling at farmers' markets to build relationships that do the marketing for him
- Adding restaurant wholesale to create consistent revenue alongside the higher-margin retail
You're not going to start at $10,000 a month. But you might start at $200, then $800, then $2,000 — and the path from $20 grow kit to real income is a lot shorter than most people think. The substrate is cheap. The process is learnable. The market for quality local mushrooms is real.
Conclusion
Mushroom farming is one of those rare business ideas that's genuinely low-cost to start, fast to see results from, and scalable if you want to take it seriously. Hunter Vargo started at 17 in a bedroom and built something that makes more in a peak month than most people make in a quarter.
You don't need the lab. You don't need the custom pasteurizer. You need a pot, a bucket, some straw, a $20 grow kit, and the curiosity to see what happens. Start there. The rest follows naturally.
Original video
https://www.youtube.com/watch?v=6WS5C9u-ak0